
Solar street lights are becoming a popular choice for outdoor lighting due to their energy-saving benefits and ease of installation. This article details the installation steps and maintenance tips to help extend the lifespan of your lighting system.
1.Installation Steps
Site Selection:
Ensure solar panels face south in the Northern Hemisphere or north in the Southern Hemisphere.
Avoid obstructions like trees or buildings to guarantee sufficient sunlight exposure.
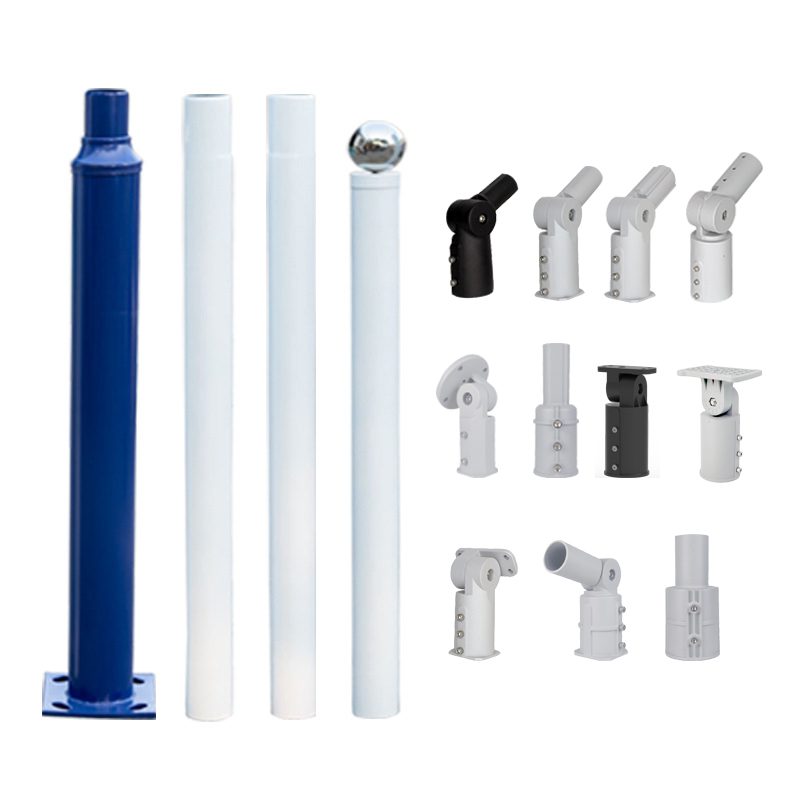
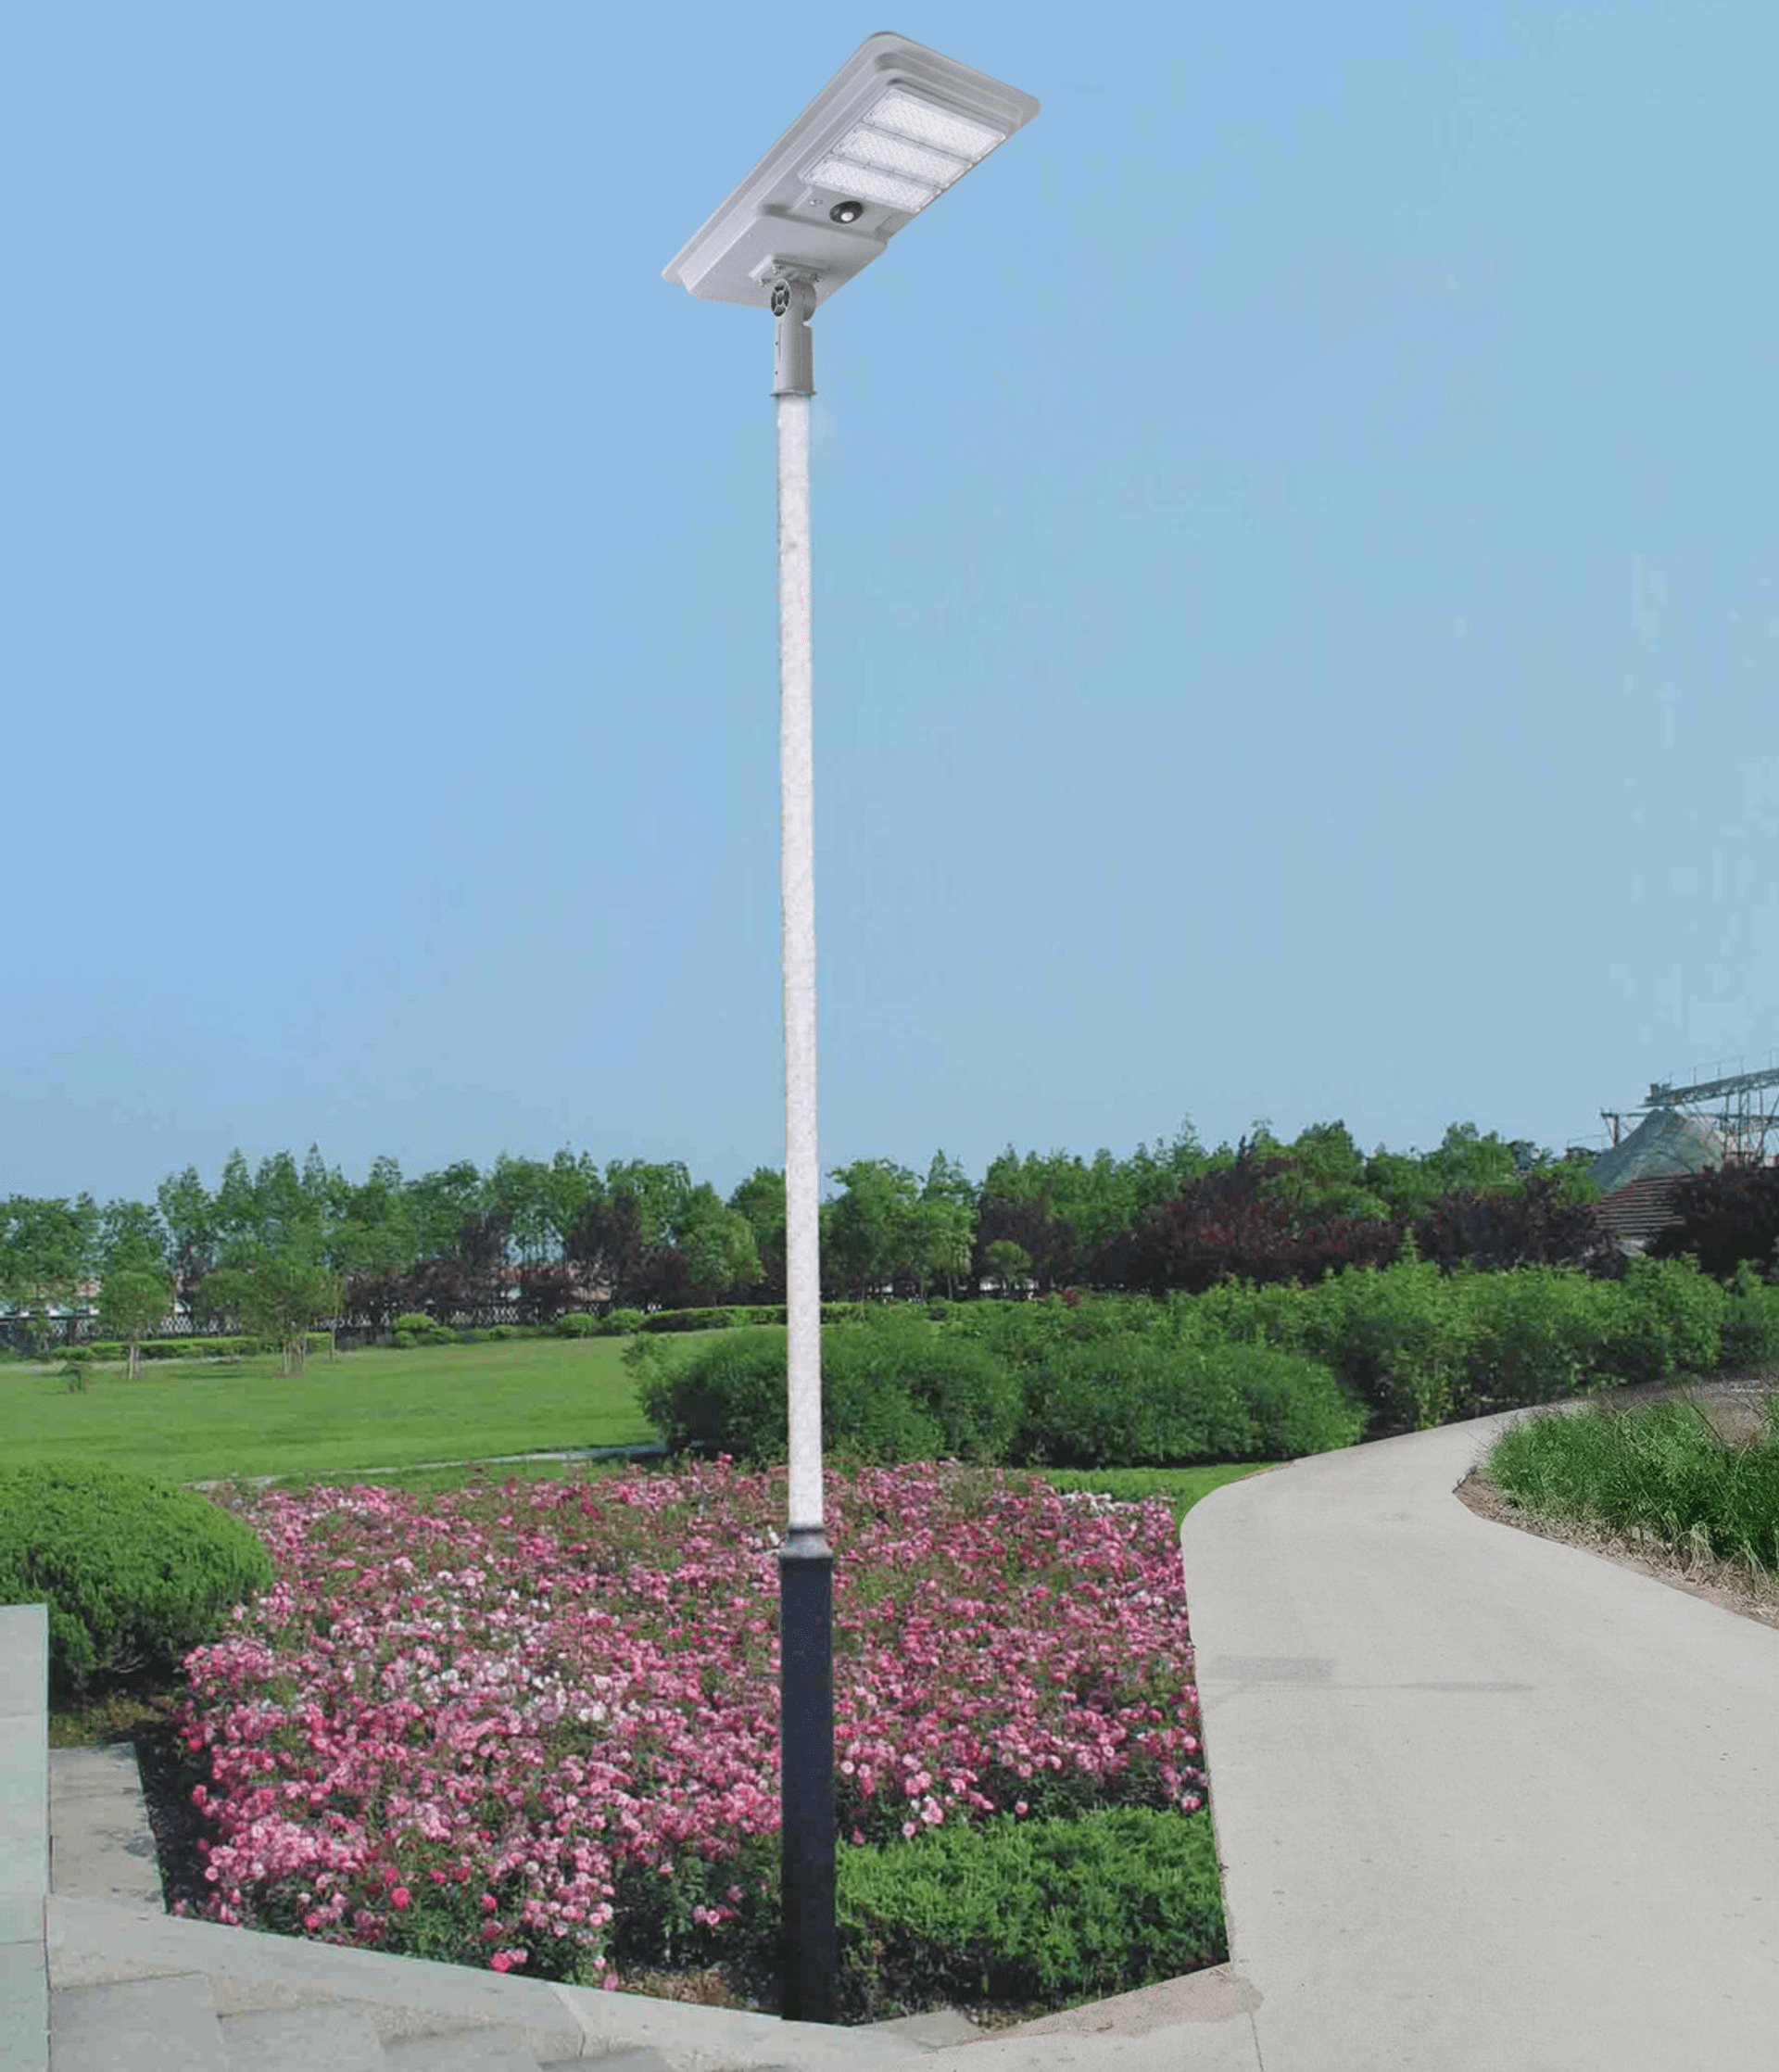
Pole Fixation:
Pour a concrete base to secure the pole vertically.
Deeper foundations are required in areas with strong winds.
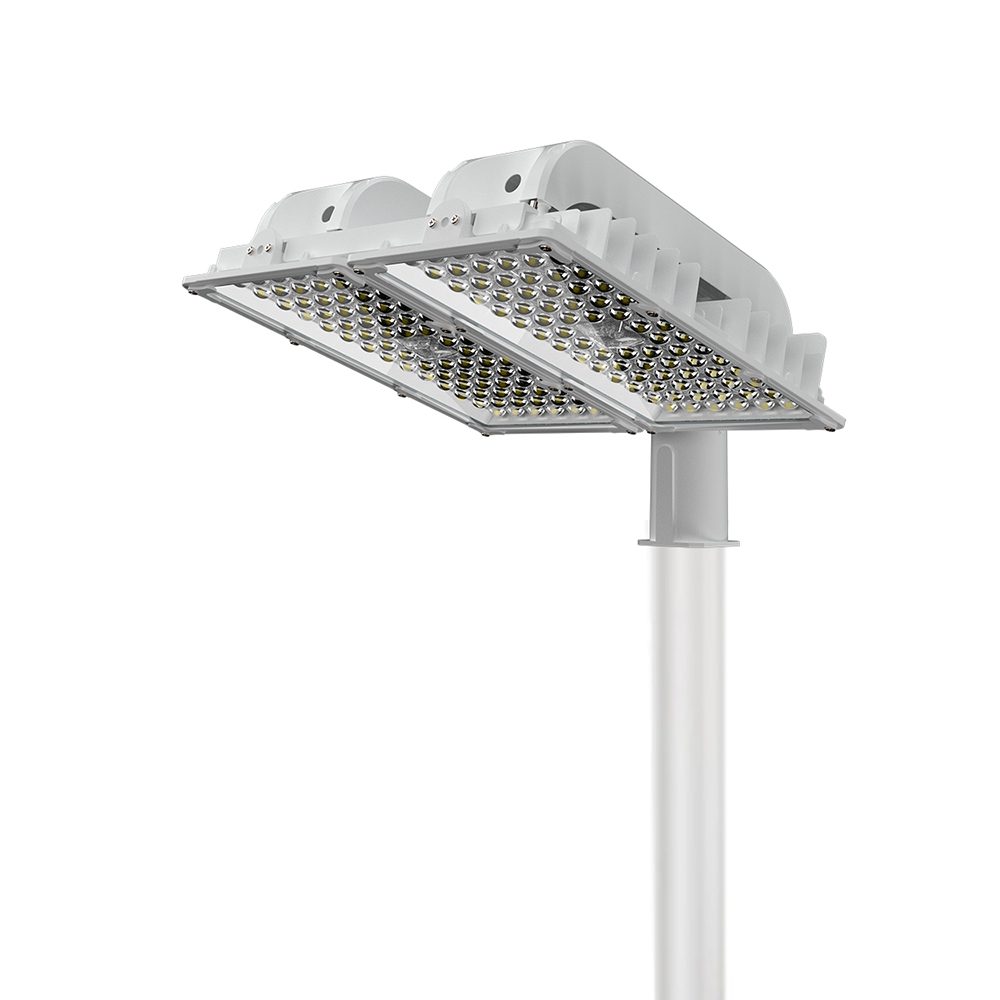
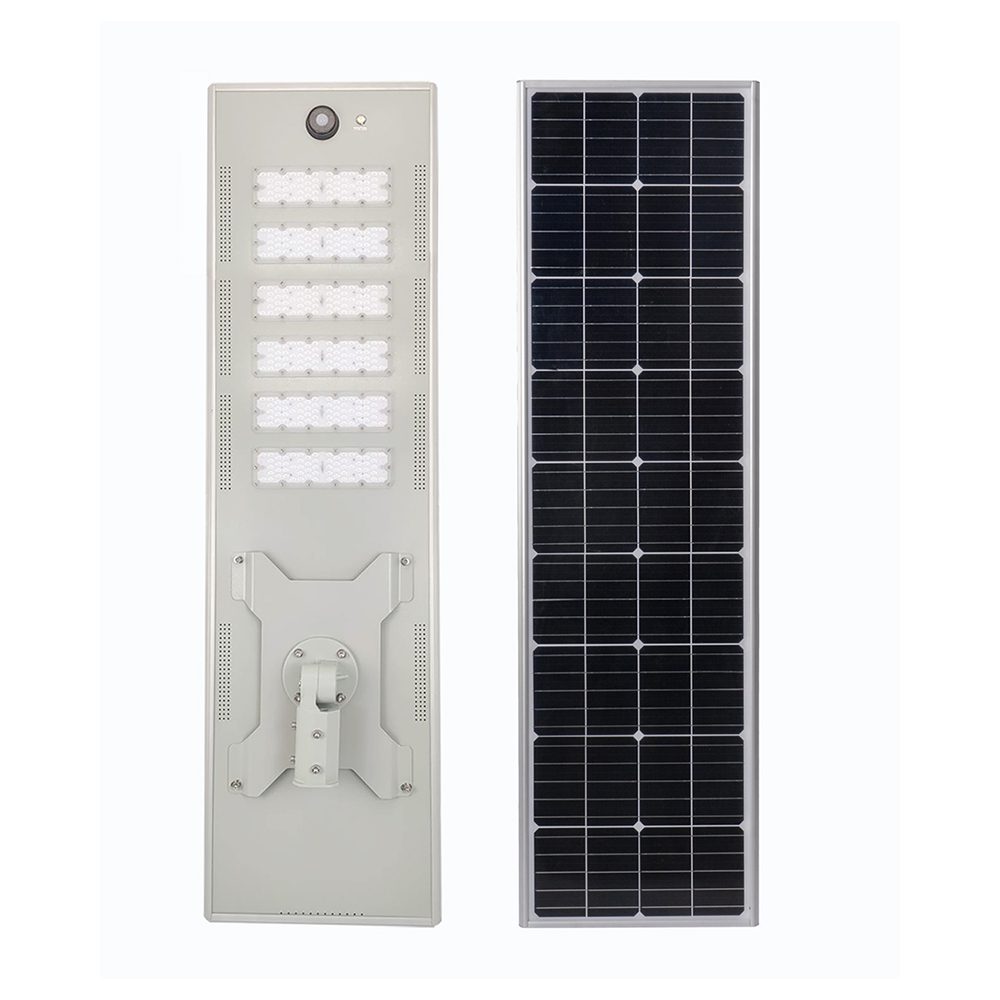
Component Assembly:
Install the solar panel, battery (with moisture-proof treatment), and LED light head.
Connect wiring and ensure all connections are waterproof and sealed.
Testing:
Charge the battery for 1–2 days before initial use to activate it.
Check the sensitivity of the automatic on/off switch
2.Maintenance Essentials
Regular Cleaning:
Wipe the solar panels monthly to prevent dust from reducing charging efficiency.
Battery Inspection:
Test the battery voltage every six months.
Replace the battery every 2–5 years (depending on battery type).
Winter Protection:
Use low-temperature-resistant lithium batteries in extremely cold regions.
Check seals to prevent freezing.
3.Smart Function Upgrades
Enhance energy-saving performance by adding:
Motion sensors for automatic activation when movement is detected.
WiFi controllers for remote dimming via smartphone apps.
Conclusion: Proper installation and maintenance can significantly improve the performance of solar street lights and reduce long-term costs. For cost-effective solutions, consult our professional outdoor lighting suppliers!